
There is never a reason not to make Nutella brioche. It's not even that difficult to make your own bread dough!
So, here's what you've got to do. I got it from this guy. Maybe you could just watch him make the brioche, with clear instructions and all, but what's the fun in that? Science is all about trial and error, and there will definitely be some errors here. Personally, I pretended that it was all perfect, but there is a real probability that I did something wrong and forgot one of the steps from that brioche expert dude's video...But what is science if we're not falsifying results? *coughs*, what? Nothing to see here, let's move on.

These are the first steps you want to take to start your new life. Get all your dry ingredients together and put them in a bowl. Make sure your dried yeast is active, so let it run around in the bowl before you add the wet ingredients (i.e. stir the dry ingredients together).
You want your milk to be warm and your butter to be melted before you add them to the bowl. The warm milk will do things to the yeast that will make it happy and do its thing. #science.

Stir everything together until it gets chunky. Take it out of the bowl and knead it sexily for a while (real scientific measure of time). Stop when you've got a firm ball that sorta bounces back when you poke it.
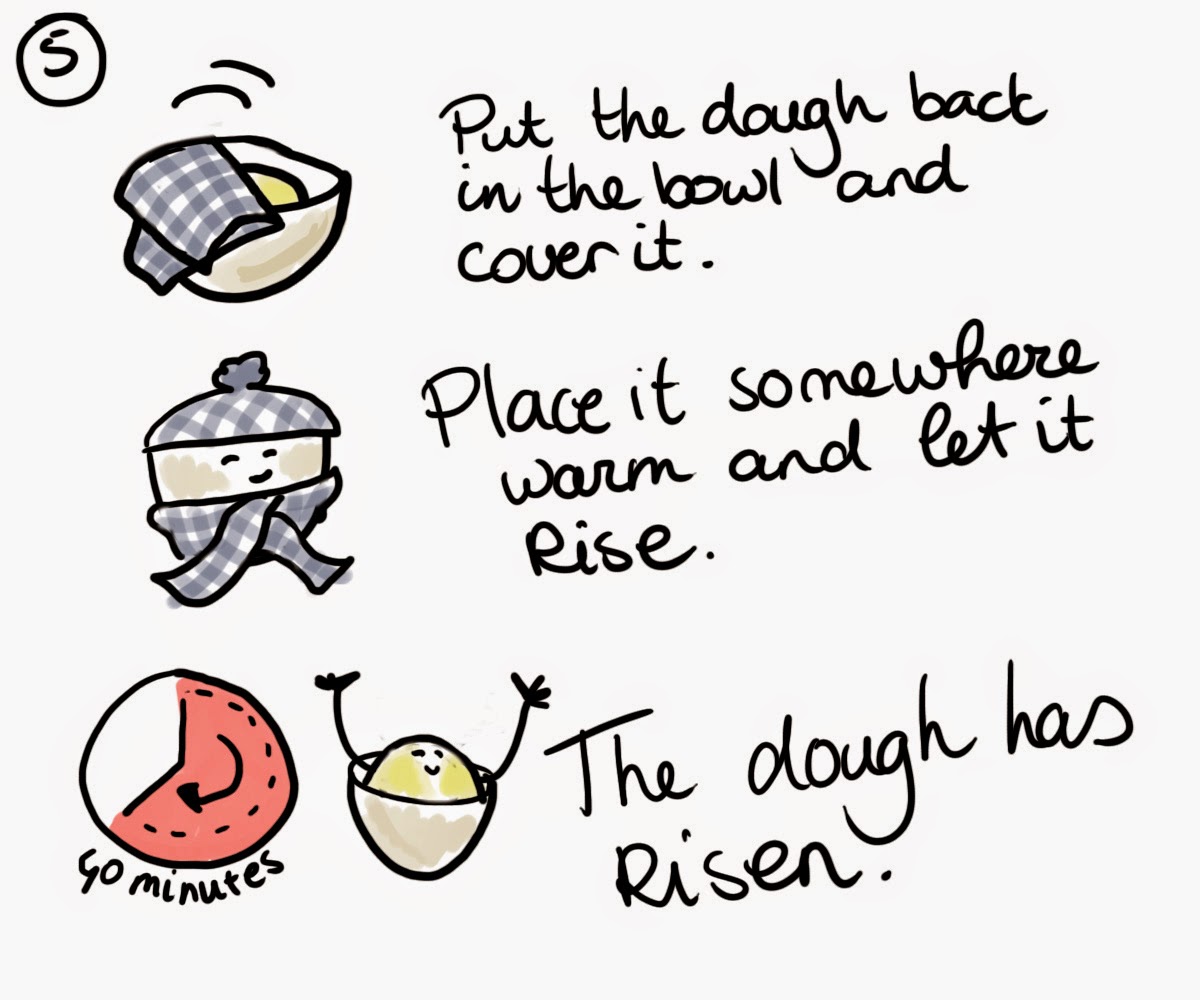
Now is the easiest part. Just let the dough sit for 40 minutes and it will magically get twice as big. Meanwhile you should put your jar of Nutella into some hot water so it gets softer. You can watch another episode of Gilmore Girls while you wait.

Now we're getting somewhere! Divide your dough in four pieces and roll them out in a circle. Get a plate or the bottom of a pie pan as a template and make all your dough discs the same size.

So, now you've got a round layered uncooked sandwich. This is where the magic (science) comes in:

But this is where it gets a little confusing and hard to draw (So maybe do watch that video I linked to).

You twist two sections in opposite directions and then you pinch the ends together. Twist each piece twice - no really, it's possible! Do that all around your future artwork. That's what makes it look like a star!
You should end up with something that looks like this (but not as blurry IRL):

*ERROR*ERROR*ERROR* Here's where my brain did a 404 and forgot to load the information that you have to let your doughy star rise again (like Jesus). I think that not letting it rise again is what made the insides chronically soft. *sobs*

But when YOU do this properly and let it rise some more, you should then put the whole thing in the oven for 15 - 20 minutes....which makes it look like this (but probably slightly puffier):

This is when you eat a piece to sample your fabulous work. Just one chunk! But you could probably eat another piece for a wider, better sampling. Why not eat another piece, just to make sure it's actually as good as you think it is? Oh, wait, now you've accidentally eaten the whole thing and you've got nothing left to give to others! What a shame. #science
At least now there's no proof that anything ever went wrong and THAT is how you create a perfect piece of food.
No comments:
Post a Comment